


In this article, I will show you a few tips that will help you become a better React Developer. I will cover a range of things from tools to actual code style, which can help you improve your skill with React. 💪
I’ve been using React for over a year now, so I’m not an expert, but I’ve built a couple of projects that helped me to understand the library better and notice some tricks and patterns that make my code more efficient. Also keep in mind some of the things we are going to learn today apply to JavaScript in general, though the article will focus on React.
So Lez get started
1. JavaScript Destructuring
To get started we will review object destructuring especially props in JS can substantially help you to keep the code small, clean, and elegant. Destructuring allows you to break down a complex structure (like an array or an object) into simpler parts.
Let’s see it better in an example,
const article = {
  title: "My Article",
  rating: 5,
  author: {
    name: "John Doe",
    twitter: "@JohnDoe"
  }
}

// Now lets print it to the screen
console.log(`"${article.title}" by ${article.author.name} had ${article.rating} stars`)

// But using destructuring, we can achieve the same by doing
const { title, rating, author: { name } } = article
console.log(`"${title}" by ${name} had ${rating} stars`)

------------------------
Output
------------------------
"My Article" by John Doe had 5 stars
"My Article" by John Doe had 5 stars
Now, some people have been using this feature for some time, perhaps white building React apps, but they don’t quite understand it, for others it may be the first time. So I’ll guide you from the start so that by the end of the article we all have the same level of understanding.
Destructuring props
First, let’s write a simple component to show some sports ( Formula 1 ) information on the screen
import React from 'react';
import FormulaOne from './FormulaOne';

const FormulaOneInfo = () => {
  const driversList = [
    {
      id: '0',
      name: 'Lewis Hamilton',
      team: 'Mercedes',
      age: '36'
    },
    {
      id: '1',
      name: 'George russell',
      team: 'Williams',
     age: '23'
    },
    {
      id: '2',
      name: 'Lando Norris',
      team: 'McLaren',
      age: '21'
    }
  ];

  return driversList.map(item => (
    <FormulaOne key={item.id} driver={item} />
  ));
};

export default FormulaOneInfo;
We’ve got a FormulaOneInfo component that stores a list of drivers. Now we want to create another component that’ll be able to display a single driver. Without destructuring props, our code will look like this:
Child Component (without destructuring)
import React from 'react';

const FormulaOne = props => {
  return (
    <div>
      <h1>{props.driver.name}</h1>
      <p>Team: {props.driver.team}</p>
      <p>Age: {props.driver.age} </p>
    </div>
  );
};

export default FormulaOne;
As you see it doesn’t look good — we have to repeat ‘props.driver part every time we want to get a prop. Fortunately, there is another (cleaner) way to do it.
Child Component (after destructuring props)
import React from 'react';

const FormulaOne = props => {
  const { name, team, age } = props.driver;
  return (
    <div>
      <h1>{name}</h1>
      <p>Team: {price}</p>
      <p>Age: {size} </p>
    </div>
  );
};

export default FormulaOne;
Now the code is very simple, we keep the JSX very clean from the rest, and we are still in context. It’s perfectly understandable that when we say name we are talking about the Driver as is what the component is all about. So keep your names clean, and structure well your components and you will love this feature.
2. Use React Dev Tools
If you are serious about becoming a pro-React Developer, then using React Dev Tools should be commonplace practice in your development process.
If you have used React, there is a good chance that your console has yelled at you to use React Dev Tools.
React Dev Tools are available for all major browsers such as Chrome and Firefox.
React Dev Tools give you access to the entire structure of your React app and allow you to see all the props and states that are being used in the app.
React Dev Tools is an excellent way to explore our React components and helps diagnose any issues in your app.
3. Simplify your conditional statements
In this section, I want to talk about 3 different scenarios that can help us increase the readability of our code, and it’s so easy, though many times we forget to do it.
Conditional execution
It is normal that at some point we need to run a statement only if a certain condition happens to be true. Usually, it goes something like:
const isFive = (num) => num === 5
if (isFive(5)) {
    console.log('It is the number five!')
}
Now, there’s nothing inherently wrong with that code, however, it can be simplified a bit:
const isFive = (num) => num === 5
isFive(5) && console.log('It is the number five!')
Nice, but how does it work? JavaScript like many other languages reads conditional statements such us && or || in order from left to right, and they exit at the time they can invalidate the arguments.
Let’s see an example of this with all conditionals:
const t = 1
t === 1 && t === 2 && t === 3
In that example, JS will first take the first expression t === 1, since that expression is truthy and we have an and conditional, it needs to evaluate the next expression, as we need to guarantee they are all truthy. When it evaluates t === 2, which is falsy, it doesn’t need to evaluate t === 3 at all, it can save that compute as we know the whole statement happens to be false.
Amazing! now let’s learn something more about this. It is very common on the internet to see examples of this, however, did you know you can also use the || operator as well?
const isFive = (num) => num === 5
isFive(5) || console.log('It is the number five!') // does not execute the console.log
isFive(10) || console.log('It is not the number five!') // it executes the console.log
Did you notice that what we just did would be equivalent to apply a not to our first example?
const isFive = (num) => num === 5
isFive(5) && console.log('It is the number five!') // it executes the console.log
!isFive(10) && console.log('It is not the number five!') // it executes the console.log
4. Ternary operator
The conditional (ternary) operator is the only JavaScript operator that takes three operands: a condition followed by a question mark (?), then an expression to execute if the condition is truthy followed by a colon (:), and finally the expression to execute if the condition is false.
This is very commonly used to show different statuses or components to the user depending on a conditional statement. Though I don’t always recommend to use the ternary operator, sometimes a good old fashion if does the job very well. It can be extremely useful for small things.
Take a look a the following example:
if (completed) {
    return 'Completed'
} else {
    return 'Pending'
}
Another variation of that, which I still see around is:
if (completed) { return 'Completed'} else { return 'Pending' }
I’m not here to judge, but that can get real messy. Let’s take a look at a way using the ternary operator
return completed ? 'Completed' : 'Pending'
Much nicer!
5. Template Literals
Though very popular and beginners friendly, no list would be completed without them. Template literals are basically strings, but not any string, they allow embedded expressions. Let’s take a look.
console.log(`this is a string literal`)
In its more basic form, a string literal is just a string, however, note that for it to be a string literal it must use ` instead of " or '. It’s a small detail but makes a huge difference.
String literals, for example, support multi-line strings:
console.log(`line 1
line 2`)
Or you can also embed expressions
const a = 10
const b = 25

console.log(`a: ${a} and b: ${b} but more importantly a+b = ${a+b}`) // a: 10 and b: 25 but more importantly a+b = 35
Really cool!
6. Use Snippet Libraries whenever possible
Open up a code editor (I use Web Storm).
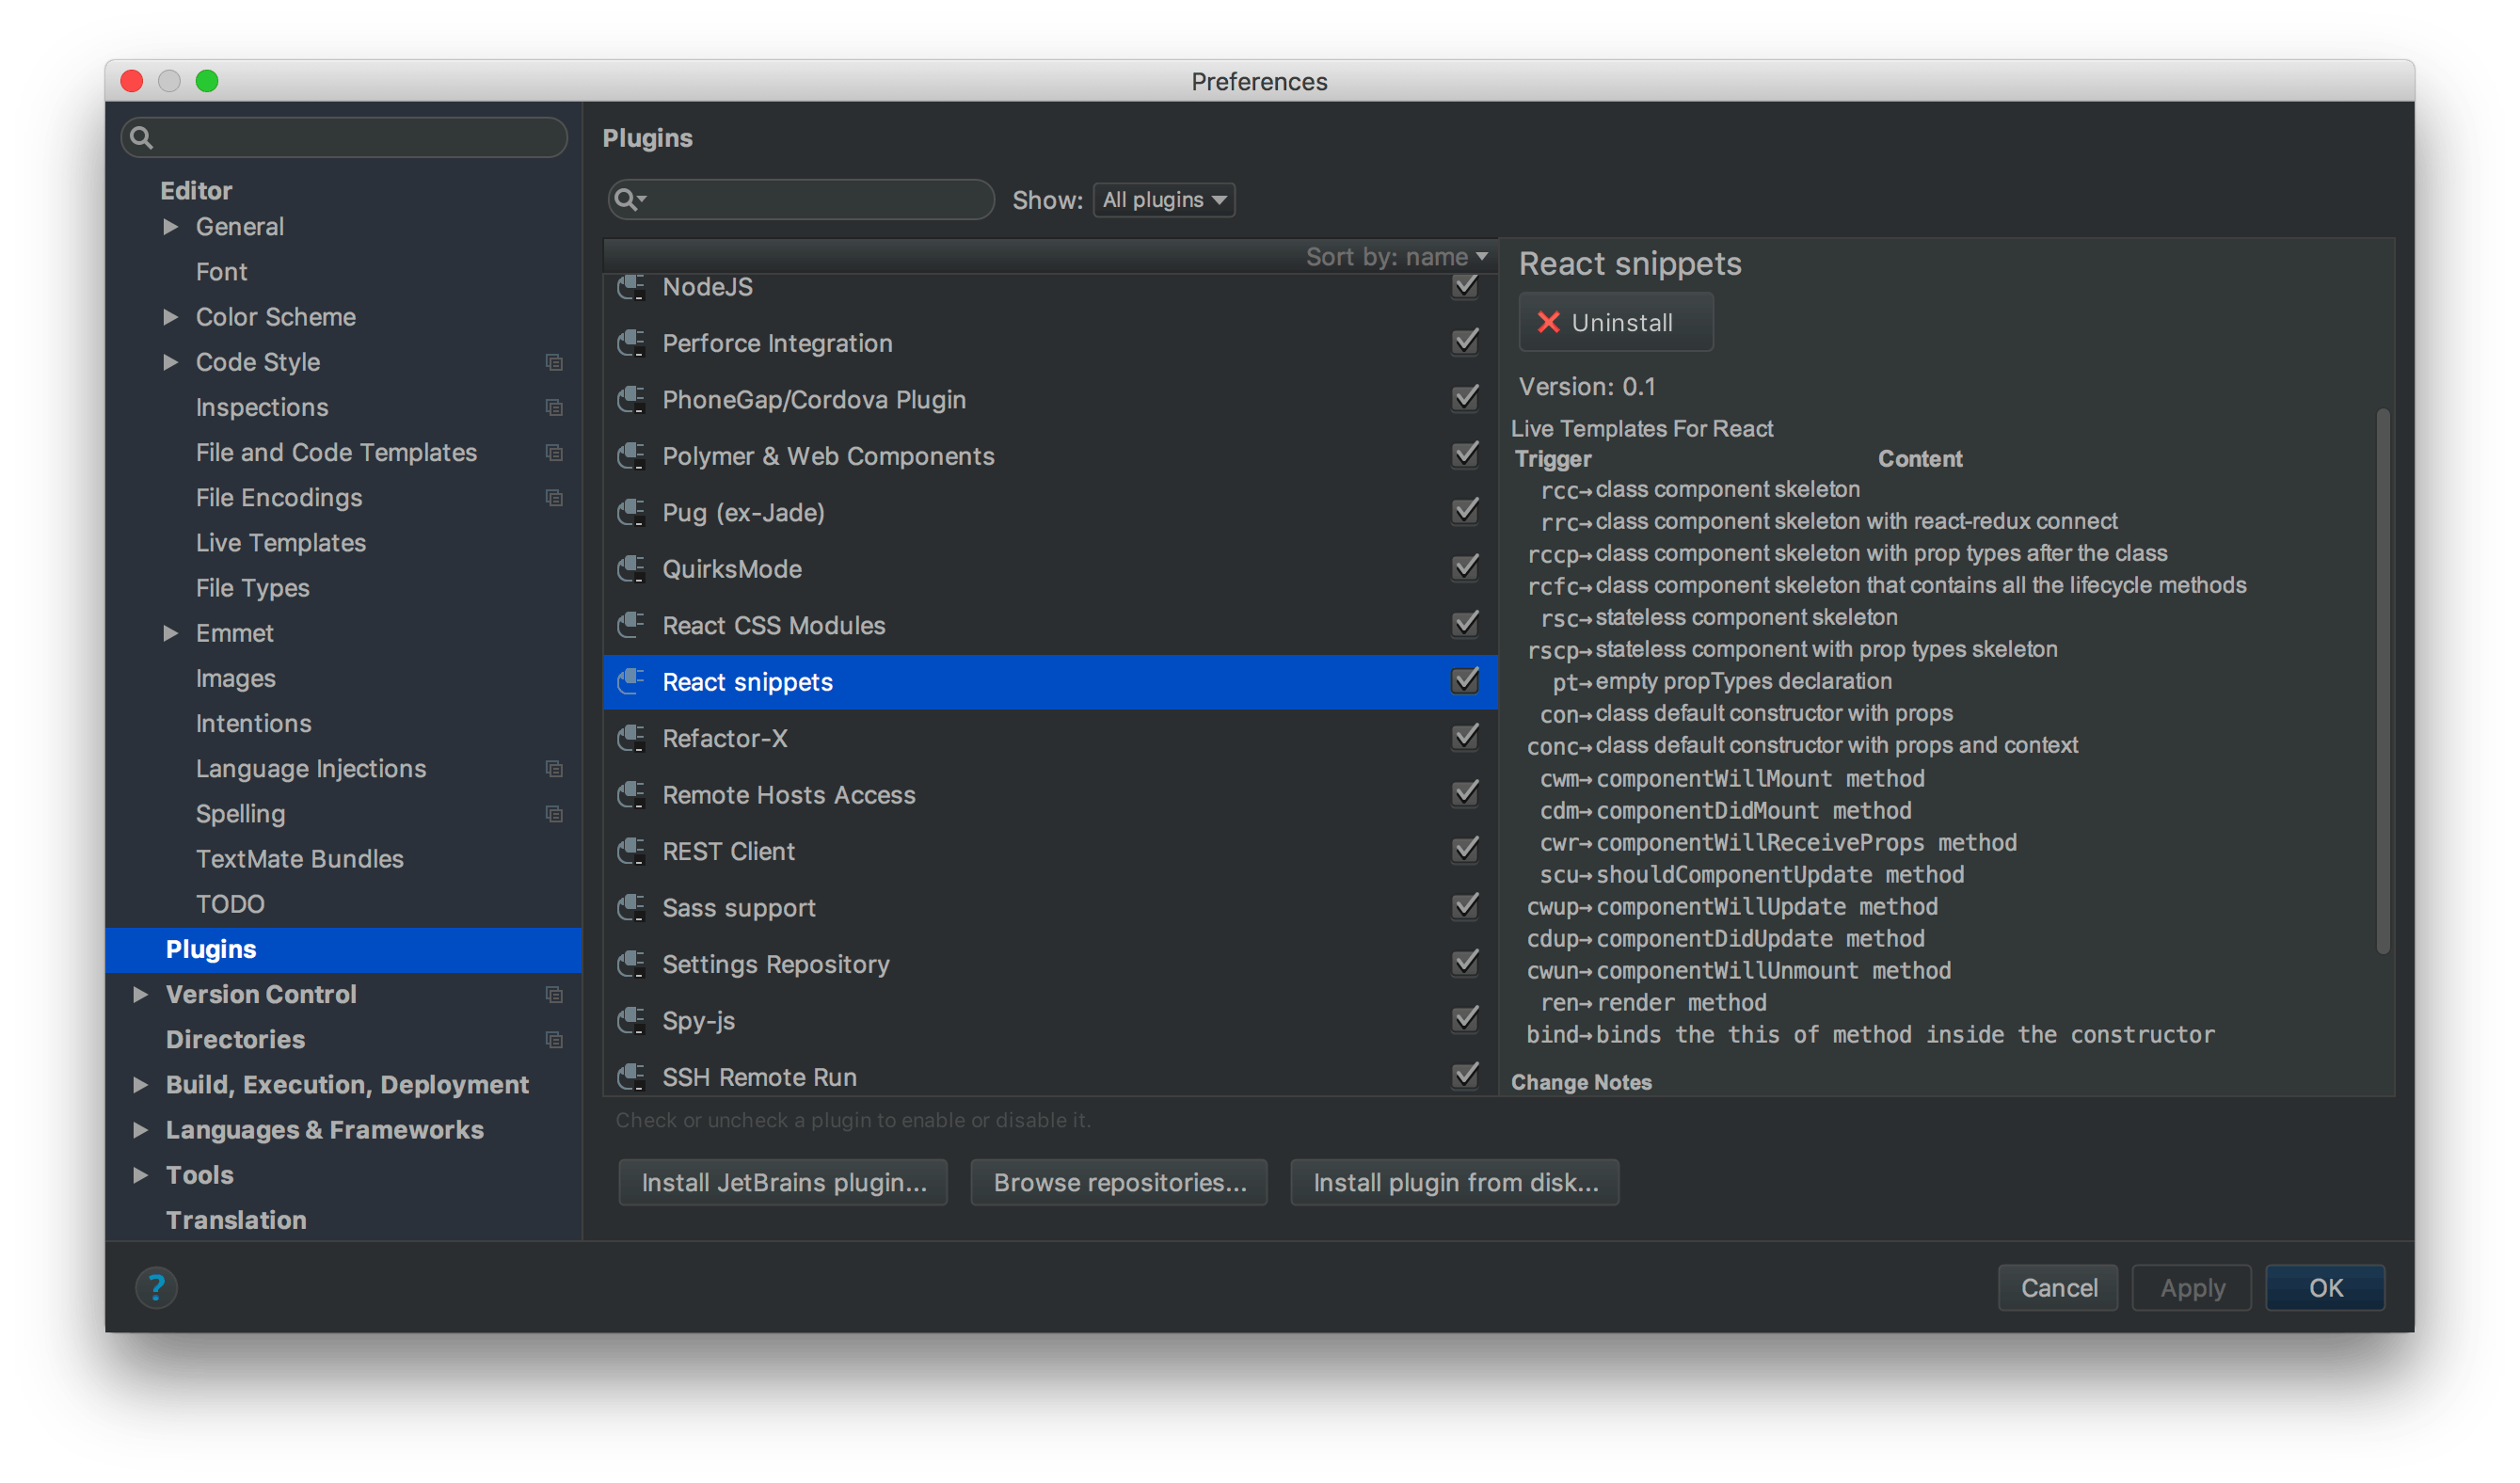
What’s great about these code snippets is that not only do they help you potentially save bugs but they also help you identify the latest and greatest syntax. There are many different snippet libraries that can be installed in your code editor.
7. Before creating a pull request, Review your own code
Earlier, I never used to review my own code. But practicing this habit, I feel it improved my coding style and it might help you too.
So after reviewing my own changes, sometimes, I find some places where I can refactor and make it better. I could make it more efficient, split bigger functions into multiple smaller ones and make the code more cleaner.
8. Know when to make new components
From research, it was found that Developers spend almost 5x time reading and understand the code in comparison to the time taken to write code. That means as the size of the code increases, the readability of the code drops drastically. Keep in mind that the last thing anyone wants to see in your code is a giant 400–300 line component full of crazy bells and whistles.
So try to make your component as short as possible. You can do this by refactoring the code into separate multiple files. Break down your component into appropriate sub-components. Put helper functions used within the component into separate files and import them. This helps improve re-usability as a good side effect.
9. Let’s Talk about Linting
Lastly, One thing that’s really important for writing better code is good linting. Because if we have a good set of linting rules set up, your code editor will be able to catch anything that could potentially cause a problem in your code.
But more than just catching problems, your ES Lint setup will constantly make you aware of React best practices.
Linting will help you be aware of the best practices in React and shape your understanding of the code. Soon, you will start to avoid making mistakes when you write your code.
You can either head over to ESLint and set up a linting utility for JavaScript. You can also install the React ESLint Package.
10. Use styled-components
Styling React components have always been quite problematic. Finding misspelled class names, maintaining large CSS files, handling compatibility issues sometimes can be painful.
Styled Components allow you to write CSS in JavaScript using tagged template literals. Thanks to them, you can style components dynamically, forget about using class names, and optimize CSS performance.
To start with Styled Components you’ll need to add the styled-components library to your ReactJS project using NPM:
npm i styled-components
Check out the basic input example for reference
Quick Recap
- JavaScript Destructuring.
- Use React Dev Tools.
- Simplify your conditional Statements
- Ternary operator
- Template Literals
- Use Snippet Libraries to save a ton of time that is usually wasted on boilerplate code.
- Before creating a pull request, Review your own code
- Know when to make new components
- Let’s Talk about Linting
- Use Styled-components
Note : I learned that the key to a clean, understandable, and maintainable code is to ensure classes and functions have a single purpose. I recently read the book Clean Code: Robert C Martin. A Handbook of Agile Software Craftsmanship and found it extremely helpful and insightful.
Conclusion
I hope these points that I have shared with you all will help you write better ReactJS code and better JavaScript code. So these are the things that I had. Let me know if you use some more approaches that I missed here. I would gladly accept them and add them to my articles.
Thank you for reading! Your feedback matters :)